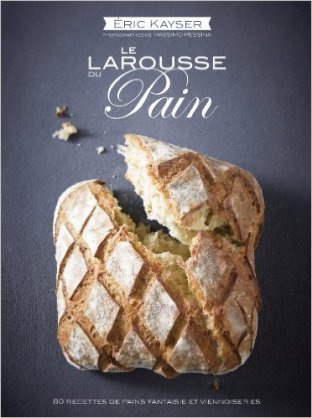
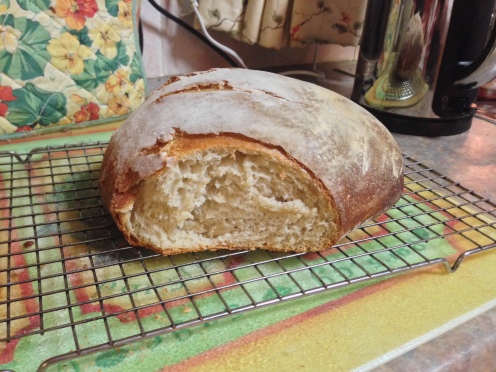
Take a minute and look at that : the crust, the softness of the inside… Hmm,imagine a bread like that, warm, out of your oven a home, that’s definitely something to wake up for !
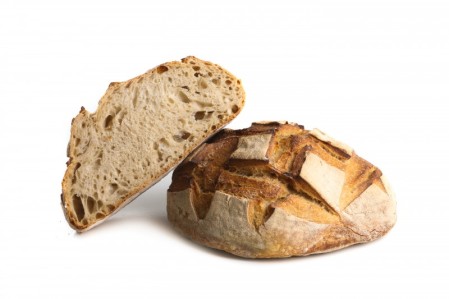
Ever dreamt of having your own fresh, warm loaf of bread out of you oven at home ?
Well, I’m about to tell how to achieve just that with a foolproof recipe that I have tested myself many times.
Making your own bread is not that big a deal. There’s a reason why it’s a basic food for so many civilizations. You might need a few tries to get it 100% but I assure you, it comes quickly.
For me, it all start with the right ingredients. So let’s spend a few minutes to understand that crucial part.
Good quality White and Unbleached Strong / Extra strong Flour
I have tried several flours over the years, and my favorites are :
- Balcheldre Watermill Stoneground Strong Unbleached White Flour ( I buy it online at amazon.co.uk)
- Allinson Strong White Bread Flour (available at Nolan’s of Clontarf in Dublin where I live)
- Celnat Farine de Blé blanche Bio type 65 (going to France on a regular basis I take the opportunity to bring back some on my trips).


Fresh bakers yeast
If you are interested in knowing more about the use of yeast over the course of history, I recommend this article : Wikipedia- Baker’s yeast.
If you’re not, the bottom line is that Baker’s yeast is going to give you a much nicer flavour to your bread compared to instant or dried yeast. It doesn’t mean that it is mandatory to achieve a nice load of bread, but try it and you will never want to go back !
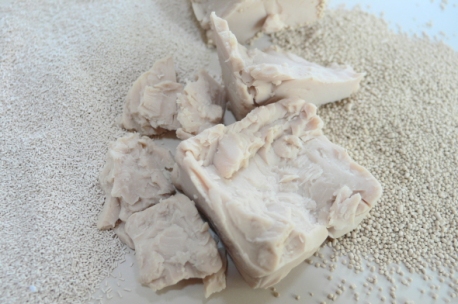
Here’s a picture to show you the difference of appearance between fresh Baker’s yeast vs Dried yeast :
Unprocessed Sea Salt
Why Sea Salt ?
Sea salt is produced through evaporation of ocean water or water from saltwater lakes, usually with little processing. Depending on the water source, this leaves behind certain trace minerals and elements. The minerals add flavor and color to sea salt, which also comes in a variety of coarseness levels.
Table salt is typically mined from underground salt deposits. Table salt is more heavily processed to eliminate minerals and usually contains an additive to prevent clumping.
My philosophy in food is to pick up ingredients that are as natural and unprocessed as possible.
Here’s how it looks like :
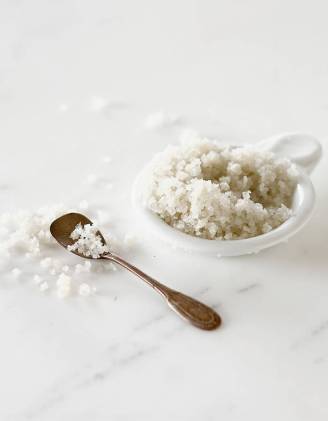
You will note the grey-ish colour (which can vary depending on the origin of your salt), and the moistness impression that it gives.
Alternatively, you could also useHimalayan salt, which is rock salt extracted from a mine in the Punjab region of Pakistan. It often comes in this form :
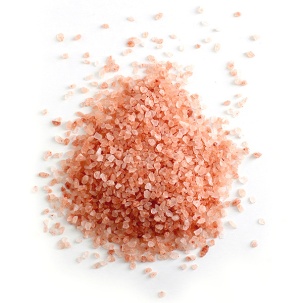
I would recommend to grind it in a mortar or buy it in thinner form if possible, otherwise it might take some time to dissolve in the dough, and you don’t want to bite into a grain of salt when enjoying your home made loaf of bread.
Again the idea is to keep as much original mineral as possible for the best result.
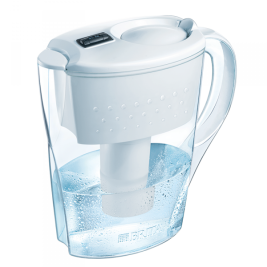
Filtered water / Spring water
Kayser’s great-grandfather, grandfather, and father were all traditional French bakers in Lorraine. In 1975, when he was 11, his parents moved to the Côte d’Azur. He did his apprenticeship at Fréjus. In 1983, aged 19 Kayser became a compagnon du Tour de France.
He quickly realized his calling for baking at a young age, and decided to pursue his passion. At the age of 18, he became a companion of the prestigious Tour de France of baking. In 1994, together with fellow companion Patrick Castagna, Kayser invented the Fermento Levain. This piece of equipment allows for the continuous use of liquid levain, a breakthrough in the field. Eric Kayser also worked simultaneously to train young bakers with the INBP, the French National Institute of Baking and Patisserie.
On September 13, 1996, Kayser opened his first bakery at 8 rue Monge in Paris. It was an instant success, garnering much critical acclaim. The opening of many more bakeries in Paris and in various countries abroad followed very quickly. Today, there are over 80 Maison Kayser locations worldwide.
If you are passionate about bread like me, here’s the book that should become your bible :
Ingredients:
500g of Strong White Unbleached Flour
350g of water (at room temperature)
100g of liquid levain / sourdough starter ( or 25g of dehydrated sourdough starter)
2g of fresh baker’s yeast (ou 1g of dried yeast)
10g of unrefined sea salt
You can create your own sourdough starter using Eric Kayser’s recipe : Liquid sourdough starter by Eric Kayser.
Creating and maintaining a liquid sourdough starter only makes sense if you bake bread on a very regular basis. If that is not the case, you can just replace the liquid sourdough starter with 20g of fresh baker’s yeast. The result is still very good, but the flavours are not going to be as deep.
A good middle ground is to prepare a poolish. 24 hours before baking, mix :
- Flour 30% of total flour from bread recipe
- Water equal weight as 30% total flour
- Yeast 8 – 10% of total yeast from bread recipe
Leave to ferment overnight until you get something like that:
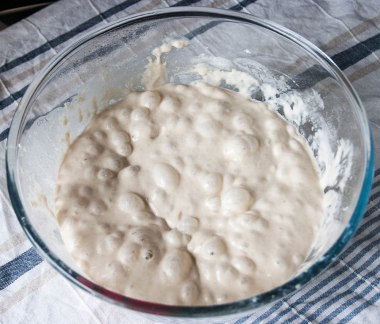
This is a great alternative between a real sourdough and direct yeast bread. You get the flavours of a sourdough without the lengthy process of creating a sourdough starter.
Preparation:
- If you are using dehydrated sourdough starter:
Take 100g of water from the 350g of the recipe, warm it up slightly (boiling water would kill the yeast, but warm water is ideal to start the fermenting process). Dilute the dehydrated sourdough starter with 1tsp sugar + 1tsp flour. Wait until the yeast activates and begins to form bubble with the preparation.
- If you are using a robot:
In the bowl, put in the water at 20°C, the liquid sourdough starter and the yeast, and the salt. Mix at slow speed for 4 min. You can add 1 or 2 tbsp of flour if the dough seems too moist or soft.
Then mix at higher speed (not max) for 6 min.
- If you are kneading by hand:
Put the flour on your worktop or a bowl and make a well. Pour half of the water, and add the liquid sourdough starter, le yeast and the salt. Mix then add the rest of the water and mix again until all the flour is absorbed.
Knead the dough until it becomes smooth and supple. This might take some time but it will warm and stretch the gluten strands, creating a springy and elastic dough.
Here’s a video explaining the process : French Baguettes with Eric Kayser.
– Le pointage (1st raising) :
Create a ball with your dough and cover it with a damp cloth. Leave to raise for 1h30. The dough will double in size.
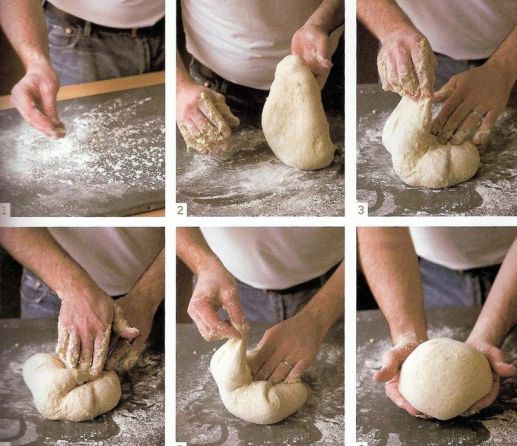
– Shaping :
Flour you worktop with a few pinches of flour thrown laterally (you don’t want a pile of flour, rather a thin layer evenly spread). Take your dough and put it on the worktop. Take the corners and stretch them towards the center of the dough and press in the middle.
Once you have done this, turn your dough and shape it as a ball, like this :
– L’apprêt (2nd raising):
Cover with a damp cloth and leave to raise for 2 h.
– Baking:
Preheat your oven at230°C, with a clean and deep tray / dish at the bottom (tray 1).
Prepare a tray (tray 2) and put some baking parchment on it, or just spread some flour all over it (a bit more more than for the kneading step), which is what I do.
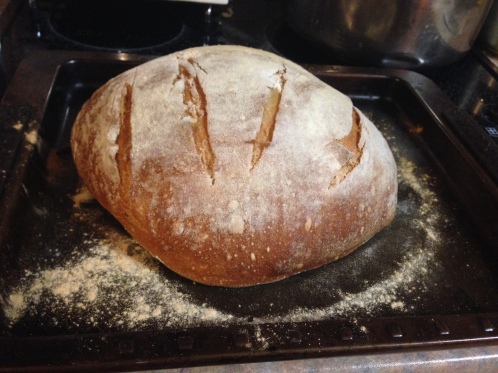
Put your dough on tray 2, sprinkle some flour on top of it and give it a few cuts with a razor blade and put it in the oven. It should look that this before you put it in the oven :
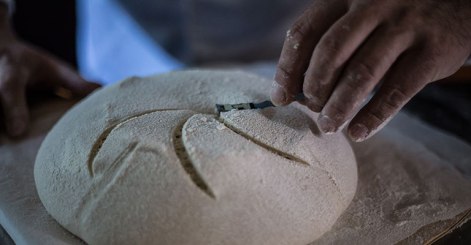
This is a very important step. Not only will it give this nice crusty appearance to your bread, but it will also allow the raising to happen in the right direction during the baking process.
Just before putting tray 2 in the oven, take a half glass of water and pour it in tray 1. There should be a fair amount of steam created.
Cook for 40-45″ depending on your oven. You might need a try or 2 to know if you are more on the 40″ side or the 45″ side.
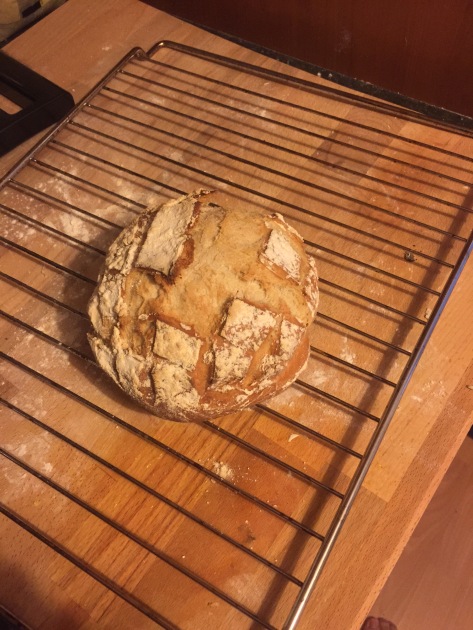
Take your bread out and put it to rest on a rack. (Make sure there’s air between the base of the bread and the worktop or the resting surface).
Then listen ! We say in France, that the bread sings at this stage. You will hear crack sounds. When they are over, your bread is ready to taste, enjoy !
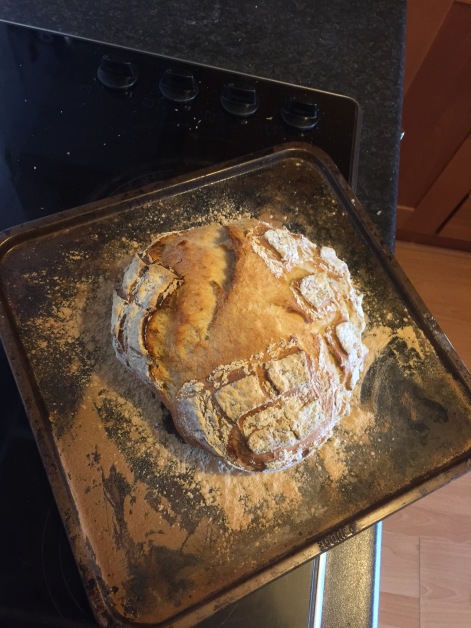
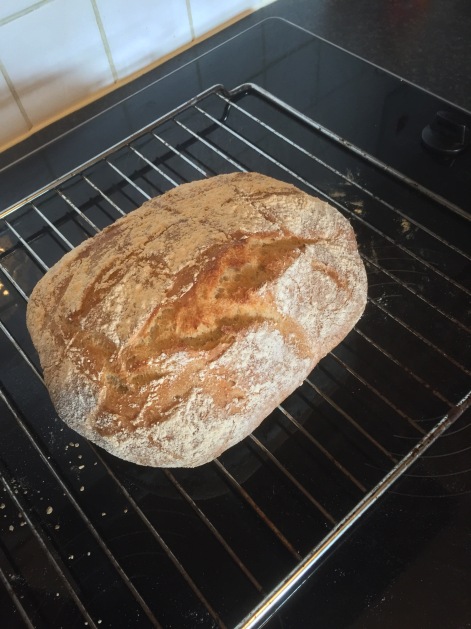
Here’s a few breads I have made.
Early breads
That was before I discovered the importance of using good quality flours.
More recently